PLEASE NOTE: The temporary program described below was created in March 2020 in response to the COVID-19 pandemic. It is now March 2022: In the United States and in most parts of the world, the "Omicron wave" has passed, the COVID-19 virus has become endemic, and life is returning to "normal" with some precautions. Given this reality, we expect that in most cases, students can either use university lab machines, or use the free 15-day and deeply discounted semester-length licenses that we normally offer.
The instructions below are still useful for installing Analytic Solver Cloud version, but you should not assume that we will routinely grant free licenses for at-home use in addition to university lab licenses, on an ongoing basis. Instead, we will review applications for special consideration on a case-by-case basis, especially in countries where the pandemic is still raging.
Frontline Systems has created a special program for students, who are unable to use student lab computers on campus due to the COVID-19 virus, to use Analytic Solver Cloud version. This version has all the same features and functions as Analytic Solver Desktop version for Excel for Windows, but it can be used via a web browser, even if you don't have desktop Excel installed. It can also be used in desktop Excel for both Windows and Macintosh, provided that Excel is up-to-date on an Office 365 subscription. Please follow the steps below.
Step 1. Ask your professor or university support staff for a special Course Code. We have issued these Course Codes to every university that has previously ordered student lab licenses from us.
Step 2. You'll need an Office 365 subscription. If you have one, on the Insert tab, you'll have an Add-ins group, as shown below (desktop Excel on the left, Excel for the Web on the right).

If you don't already have one, you can sign up for a free Office 365 subscription here, using a valid school email address. There are links on this page if Microsoft doesn't accept your "valid school email address".
Step 3. If you've never used Excel for the Web, do this: In a browser, visit https://office.com and login with the valid school email address of your Office 365 subscription. Click the Excel icon to launch Excel for the Web. Then click the button New blank workbook.
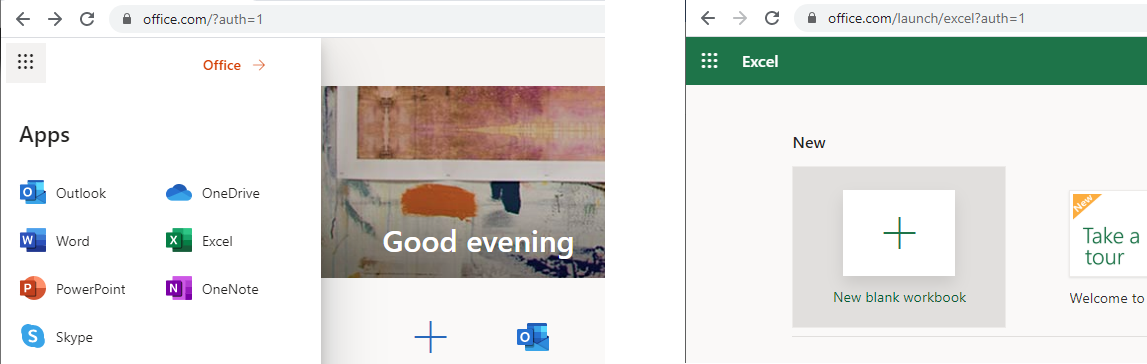
You should now have an Excel window with a Ribbon in your browser. Click the Insert tab, and you'll see the Add-ins group, with the Office Add-ins button pictured earlier.
Step 4. The first time you need them, you'll insert the Analytic Solver Cloud add-ins (there are two) into your copy of Excel. You can do this in either desktop Excel or Excel for the Web -- the steps are the same.
Start Excel, click the Insert tab, then in the Add-ins group, click Get Add-ins (desktop Excel) or Office Add-ins (Excel for the Web). You'll see an Office Add-ins dialog, initially showing the Microsoft AppSource Store. In the Search box, type Analytic Solver and press Enter, or click the Query icon. You should see a dialog like this:
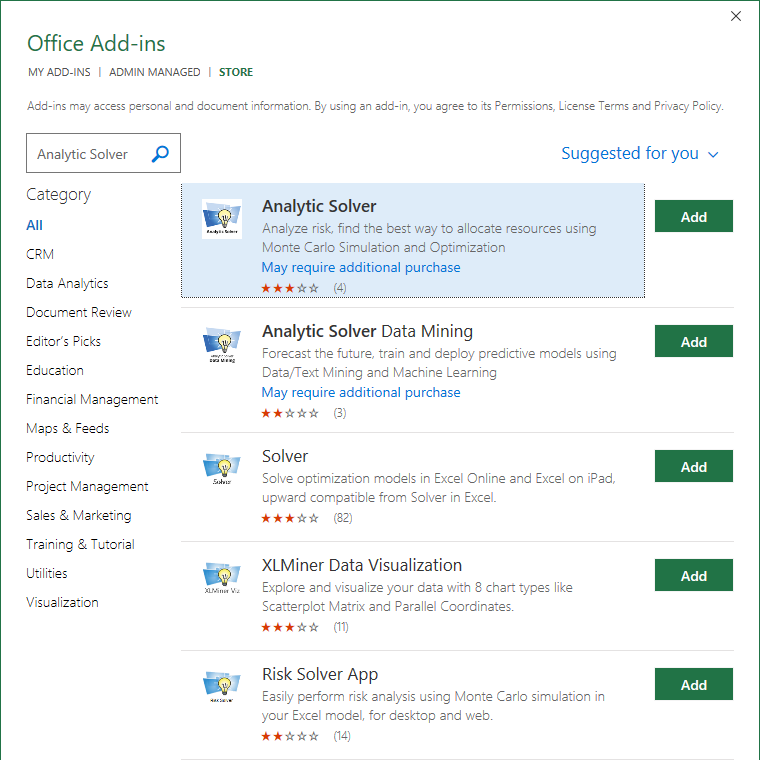
Click the Add button next to Analytic Solver. You'll see an Analytic Solver tab appear on the Excel Ribbon. Then repeat this Step 4, but this time click the Add button next to Analytic Solver Data Mining. You'll see a Data Mining tab appear on the Excel Ribbon.
That's it -- you're done with installation! The Analytic Solver add-ins will always be up-to-date when you use them -- even when we release new versions. Now, you just need to register with your Course Code, to obtain your software license.
Step 5. In either desktop Excel or Excel for the Web, click the Analytic Solver tab on the Ribbon. The Ribbon should now display the Analytic Solver icons, as shown below. Click the Model button on the far left. The Analytic Solver Task Pane should open on the right side of your browser or Excel window, as shown below.
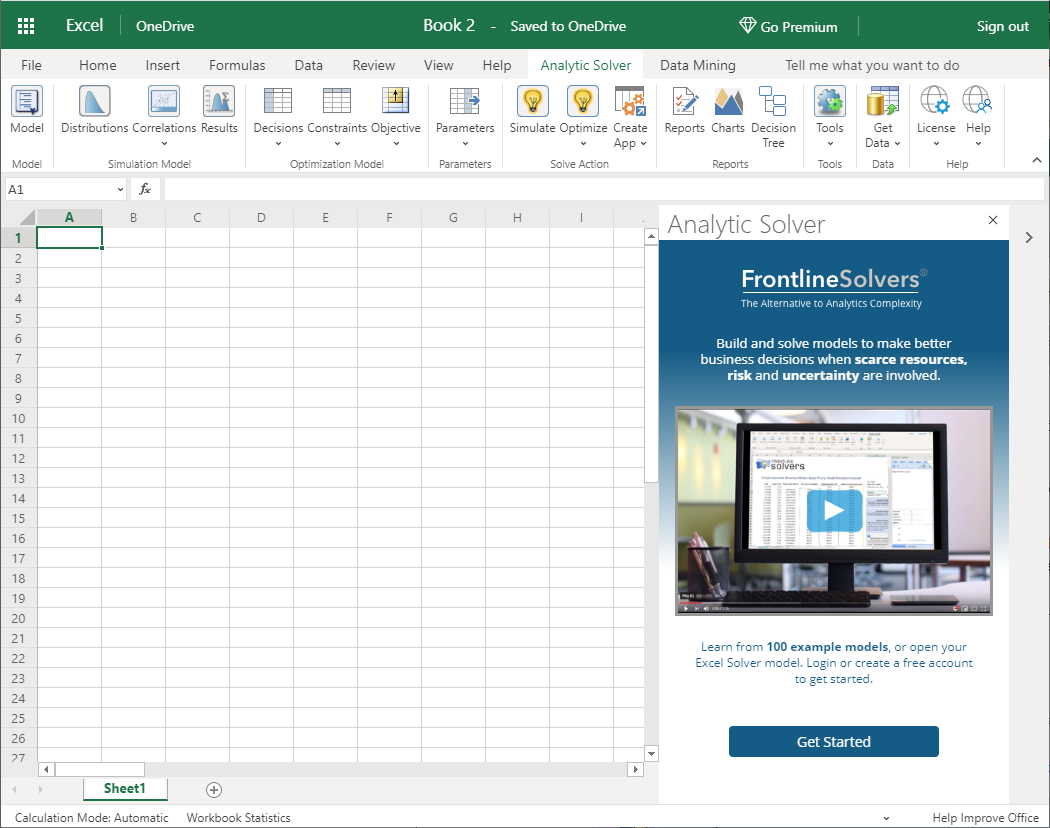
Step 6. Click the Get Started button at the bottom of the Analytic Solver Task Pane. You'll see a Login dialog, pictured on the left below -- you'll use this in the future, whenever you need to login and use Analytic Solver. But right now, click the button Create an Account at the bottom. This will display a first Create New Account dialog, pictured on the right below.
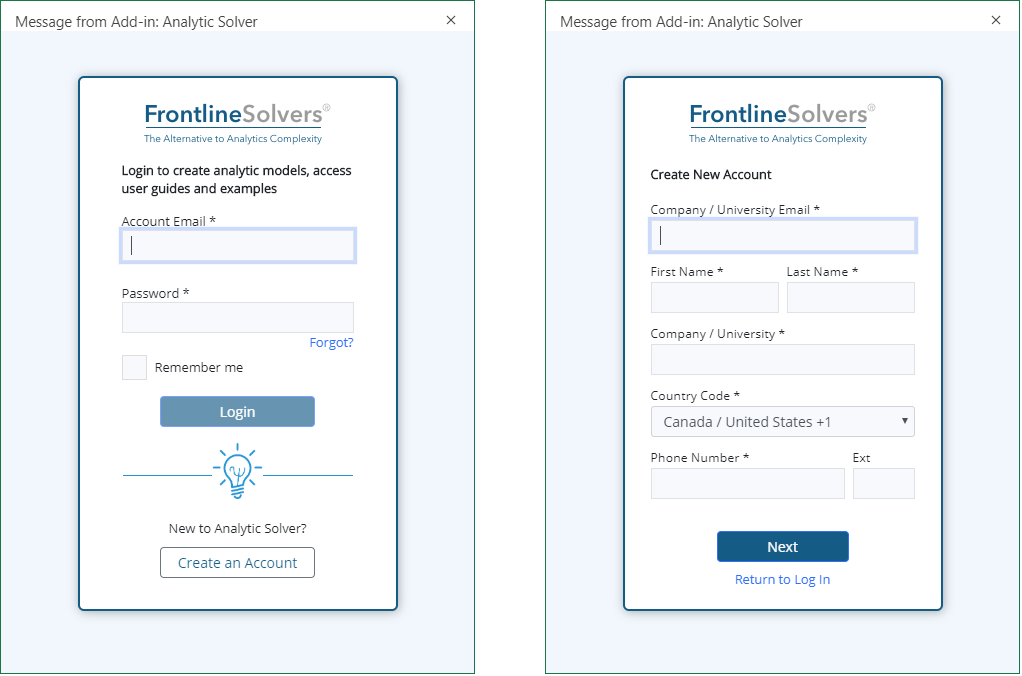
Fill in your valid school email address, first and last name, university name, and phone number. Then click the Next button.
The next two dialogs will create your account and software license. In first one (on the left below), in the User Type dropdown list, select Student. This will automatically select Academic in the next dropdown list Industry.

In the Course Code field, carefully enter the Course Code you obtained from your professor or university support staff. In the Textbook Code field, type COVID-19. Then click the Next button. Now in the dialog on the right above, enter a password that satisfies the rules listed, and check the box to accept the Terms and Conditions (it's a good idea to click the link to display them). Finally, click the Finish button,
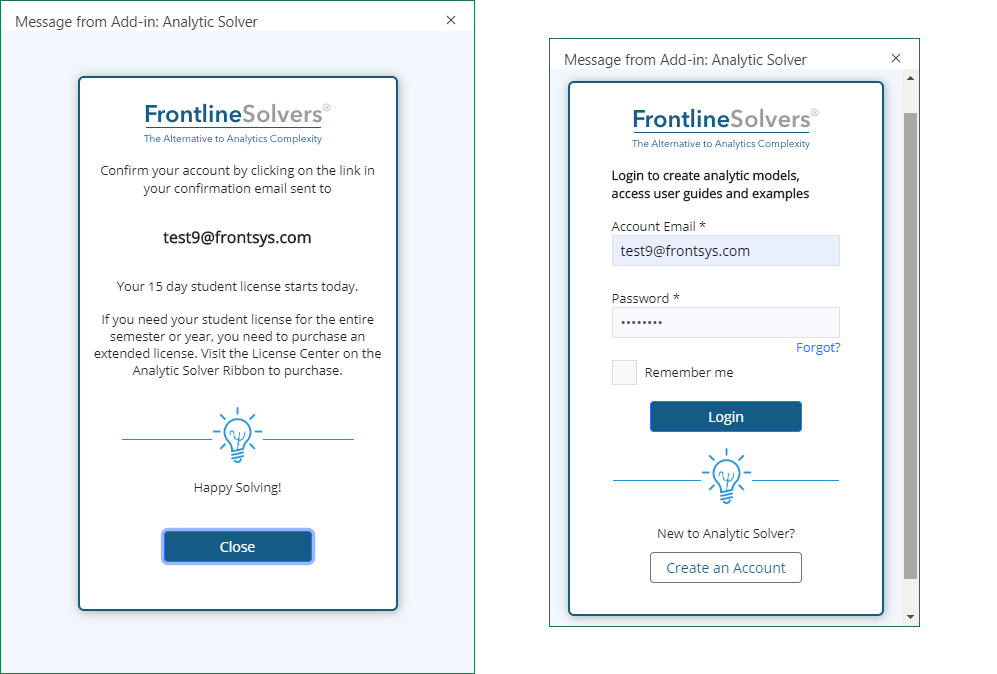
Step 7. You may see the message "Your 15 day student license starts today" -- but because you registered with the special Course Code we issued to your university to supplement their student lab licenses, your license will actually last until June 30, 2020.
You're practically done! All that remains is to confirm your email address: Look for an email message sent to the address you entered (check Clutter or Spam folders if needed), and click the link in that email message to confirm. Once you've done this, return to Excel and the Analytic Solver tab, click the Get Started button once more to display the Login dialog, and login with your email address and password. At this point, all the functionality, Help and example models in Analytic Solver are available to you.
If you have trouble, please start a Live Chat here on Solver.com (upper right corner of this page), or send an email to support@solver.com. During the Covid-19 "lockdown", there can be long delays reaching someone by phone -- but our technical support staff is working all the time to handle Live Chats and questions by email.